Páginas

viernes, 24 de julio de 2015

Celebrate ♥


¡Hola lectores y lectoras del blog! <3

Hoy es un nuevo viernes de caso CSI! Y como parte del Equipo de Diseño de Carolina Ghelfi Scrapbooking, y (gracias a ello) como Diseñadora Invitada de CSI,  lo resolví con materiales CGS y mucho cariño.

................................................................................

 Hi blog readers! <3

Today is a new friday of CSI cases! And as a part of the Carolina Ghelfi Scrapbooking Design Team and (thanks to that) as Guest Designer in CSI, I solved it with CGS materials and lots of love.

................................................................................

El caso es el #171 y esto es lo que propone:

................................................................................

The Case is the #171 and this is what you can do with it:


Y así es como lo resolví!

................................................................................

And this is how I solved it!


Esto es lo que utilicé para este caso:
  • Paleta de colores: Utilicé la paleta completa (Rosa Piel Claro, Rosa Piel Oscuro, Bronceado, Blanco, Marrón dorado) e intenté no agregar otros colores fuera de esa paleta. Para el marrón dorado usé glitter dorado directamente, y algunos toques en el fondo de Bruma Brillante Beige Vacaciones, que es bastante parecido también.
  • Evidencias: Usé banners, chevron, lunares/puntos, madera (shaker y figura cortada tipo pin geográfico, ambos pintados con glitter) y el Shaker lo pensé tipo Ventana :).
  • Testimonio: Opté por utilizar la palabra "Celebrar" como inspiración para el título y para escribir el relato en general. 

Como siempre antes de empezar a resolver un caso CSI, seleccioné todos los materiales CGS que creí que podía llegar a usar.

................................................................................

This Is what I chose to solve this case:

  • The Scheme: I used all the five colors and tried not to add any other. For the Golden Brown, I directly used Golden Glitter :D.
  • The Evidences: I used banners, chevron, dots, wood (shaker and wooden sticker, both of them painted with glitter), and used the shaker as a window.
  • The Testimony: I chose to use the word "Celebrate" as inspiration for the title and the journaling.

As always before I start to solve one of the CSI cases, I selected all the CGS materials that I thought I could use.


Como este caso requería dos tonos distintos de rosado, quise aclarar el color de la lámina de base para que contrastara más con el otro rosado que iba a incorporar después con las brumas brillantes.

Para aclarar el fondo, lo que hice fue aplicar acrílico blanco con la herramienta tipo "Blending Tool" que te enseño a realizar AQUÍ y puedes ver en la siguiente foto.

................................................................................

This case has two different shades of pink, so I lighten de base pink page so I could get more contrast when I added the other shade of pink with de Brumas Brillantes.
To lighten the background, I added white acrylic paint with the tool I teach you to create HERE.


Y así es como se ve el fondo trabajado con esta herramienta. Al tener una esponjita circular, podés trabajar de forma que se funda el color perfectamente sin que queden marcas, o marcar a propósito un poco los bordes de la herramienta así da este efecto como de nube o de bochita de helado :)

................................................................................

And this is how the background came out. You can work with this tool blending the color perfectly or you can prefer to let some of the borders appear. This way you get a "cloud" effect.


Como me gustó esa idea de Nube o Bocha de Helado, quise acentuarla cargando más la herramienta, pero solo en un bordecito y apoyándola tipo sello en algunos sectores.

................................................................................

I really like the "cloud  effect", so I wanted to accentuate it by adding a little bit more of acrylic paint in just a border of the tool and stamping with it on the background.


"Cumulonimbus" diría Russel en UP <3. Así bautizo a esta técnica desde ahora, Cumulonimbus! Jajaja! <3

Armé estas nubecitas en las zonas de la página donde imaginé que iba a ubicar mis elementos. Utilizar extremos opuestos es un recurso fácil y rápido para componer! Siempre es mejor equilibrar una zona más grande y cargada con una más pequeña.

Continué salpicando el fondo con Brumas Brillantes Rosado Comienzos y Beige Vacaciones, y luego armé el Shaker con la foto y le apliqué Glitter en Pasta Oro, igual que a algunos ganchitos decorados de la línea Vacaciones. A uno de los ganchitos le agregué un sticker de madera, al que también pinté con el Glitter en Pasta.

Es genial como este toque cambia TANTO los accesorios! Las posibilidades son infinitas, es sólo cuestión de combinar materiales.


................................................................................

"Cumulonimbus" as Russel from UP would say! <3. This is how I will name this technique from this moment, CUMULONIMBUS! Hahaha <3
I created the clouds in parts of the page where I thought I would place the elements. Using opposit sides is an easy and fast way to compose the structure of the page. It's always easier to equilibrate a bigger and heavier zone with a lighter and smaller area.

I continued splashing the background with little drops of Comienzos Pink and Vacaciones Beige Brumas Brillantes, and then I built the Shaker with my photo and added Golden Glitter en Pasta on it. I also added Glitter on some of the decorated clips of the Vacaciones Collection. On one of the clips I glued one wooden sticker, wich I also painted with Glitter.
It's great how this little detail changes SO much the accesories! The possibilities are endless, it's only matter of combining materials.


Luego se me ocurrió agregarle otra capita de papel a los ganchitos decorados, para sumar un toque del color que me faltaba para completar la paleta de este caso. Para ello, la lámina Beige de la línea Vacaciones fue ideal! 

Simplemente medí el ancho del papel troquelado y usé esta misma medida, dándole más largo abajo y cortando en forma de piquitos. Luego pegué con el Adhesivo Multifunción CGS.

................................................................................

Then I added a new layer of paper to the decorated clips, so I could get the color that was left to complete the case palette. The Beige page of the Vacaciones collection was ideal for this!
I glued the new layer to the old one with the Multipurpouse CGS Glue.


Para escribir mi relato, elegí un tarjetón calado con chevron (una de las evidencias del caso) y le até una cintita dorada. Quise que esta tarjeta quedara escondida debajo de la foto, pero que al sacarla para leer no se despegara del todo, sino que quedara siempre sujeta. 
Para lograr esto, corté la cinta del ancho de la foto y la pegué con el Adhesivo Multiuso (solo en el extremo izquierdo, según la foto siguiente) y lo aseguré con un pedacito de papel. 
A la foto con el shaker le agregué cinta bifaz dimensional, para que la tarjeta tuviera espacio de entrar y salir :D

................................................................................

I chose a Tag to write my journaling on. I tied a golden cloth tape to it.
I wanted the tag to be hidden behind the photo, so I glued the cloth tape only in one extreme to the back of the photo. 
I used dimensional both sides tape on the back of the photo, so the tag would have room to go in and out.


Y así quedó terminado este LO :D Pegué todo en su lugar con el Adhesivo Multifunción, agregué algunos toques de Glitter en pasta Dorado en el fondo usando un stencil de firulete (que tiene agujeritos circulares pequeños, y me servían para completar la evidencia), armé el título escribiendo a mano alzada sobre el fondo y con los stickers de abecedario, agregué la fecha y un poquito de hilo, y escribí mi relato sobre el tarjetón. 


................................................................................

And this is how the LO turned out! I glued everything down with the Multipurpouse CGS Glue; added some touchs of Golden Glitter with the Firulete Stencil (to create little circles, part of the evidence) on the background; made the title writing part of it directly on the background and the rest with Alpha Stickers; added the date and a little bit of twine; and finally wrote my journaling on the hidden tag.


Les dejo algunas fotos detalle y me voy despidiendo por hoy :D

Como siempre, al final del post encontrarán el listado completo de productos CGS que utilicé. Si hacen click sobre el nombre de alguno de ellos, se abrirá una nueva ventana en su navegador directamente en la tienda online de Carolina Ghelfi Scrapbooking, donde podrán adquirir ese producto.

Espero que este post les haya gustado y encuentren útil alguno de los consejitos, o por lo menos el paso a paso las y los inspire a crear algo nuevo.

¡Hasta el próximo post!


Listado de Materiales CGS utilizados en "Celebrar el Amor":
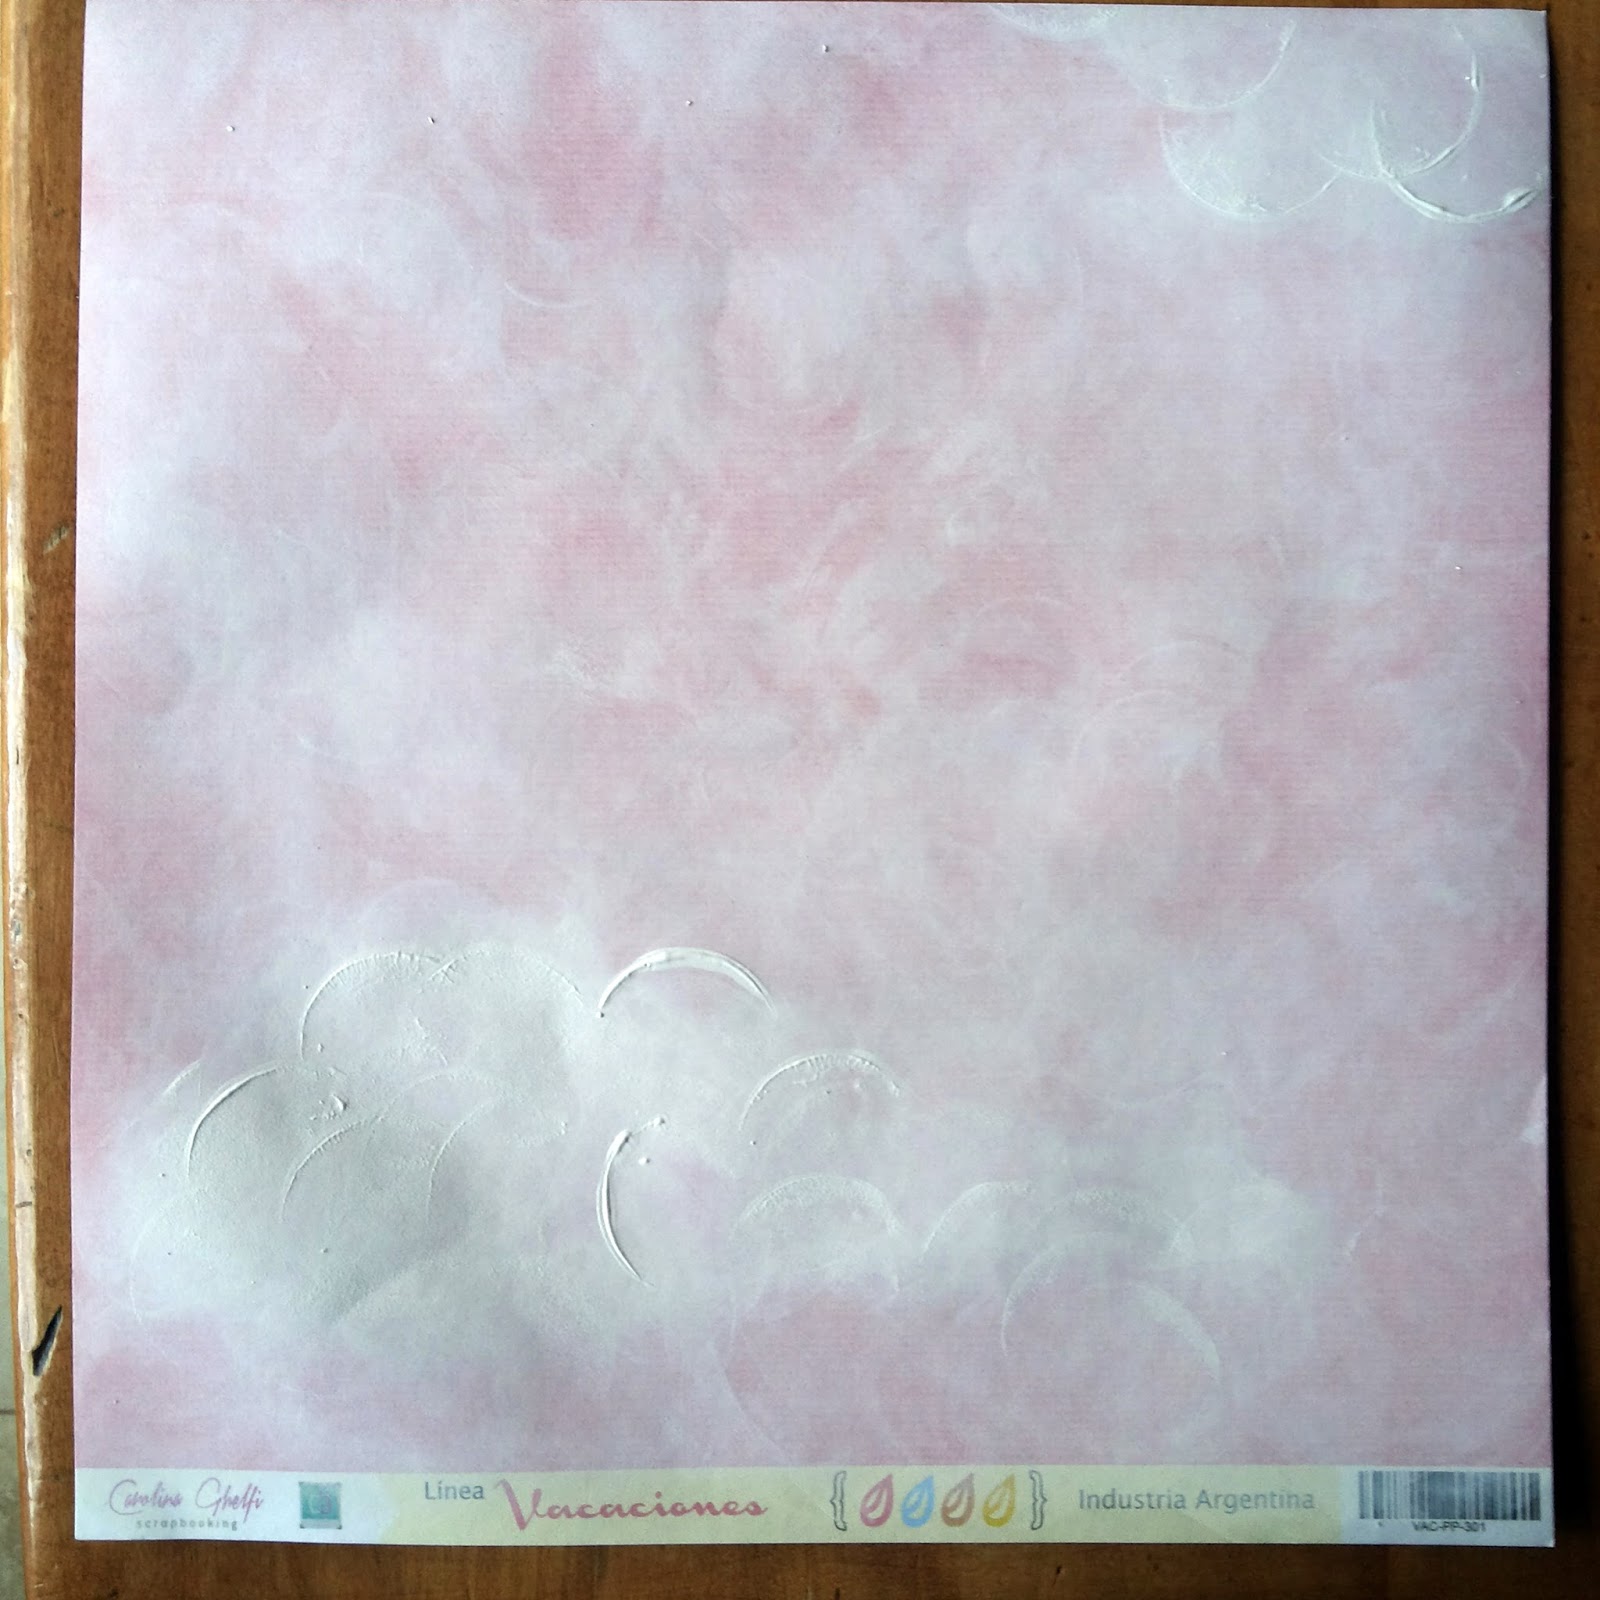

miércoles, 15 de julio de 2015

Hack Creativo


Mitad de semana, hora de un mini tutorial que decidí llamar "Hack Creativo".
¿Por qué?
Porque se trata de un tutorial donde vas a aprender a crear tus propios aplicadores de tinta, inspiradísimos en los Blending Tool de Tim Holtz ♥, pero a un precio super módico y con el plus de haberlos creado vos misma o vos mismo.

[Dicho sea de paso, adoro a Tim Holtz y a Ranger, así que si alguien lo conoce díganle que no me odie por bajar al nivel casero esta herramientita :D]

Básicamente, esta herramienta sirve para aplicar tinta o pintura de manera suave, permitiendo también que se funda entre colores si eso es lo que se busca. Si querés más info "oficial", podés visitar el canal de Youtube de Ranger o/y de Tim Holtz, donde tienen varios videos demostrativos usando estas herramientas y las tintas correspondientes.

Y sin más preámbulos, vamos al tutorial!
Estos son los materiales que necesitamos:


  • Soportes para sellos: Se consiguen en imprentas o donde hagan sellos! Estos me los consiguió mi papá (gracias papi! ♥) y prácticamente se los regalaron, son MUY baratos!
  • Abrojo: Se usa re poquito por cada Aplicador, unos 3 centímetros aproximadamente, así que antes de salir a comprar revisá si no te quedó algún retazo en casa!
  • Esponjitas para maquillaje: Si! Son lo más! Y aparentemente la textura es bastante parecida al Foam que traen los "Blending Tool" originales :D. Yo las conseguí redonditas y me vinieron al pelo, pero también vienen en forma de triángulos 3D, que se pueden recortar a la medida necesaria. 
  • Pegamento: Yo utilicé Suprabond Transparente, porque imaginé que iba a resistir y además en la lata aclara que permite pegar telgopor, así que no me iba a arruinar estas esponjitas tipo foam.
  • Tijera.
  • Base para no arruinar mesas.
  • Barniz acrílico y pincel: Esto no es obligatorio, pero yo le di varias manos a las bases de los soportes para sellos, porque son de fibrofácil y me pareció que si las dejaba así nomás, cuando los utilizara iban a absorber mucho color. También se me ocurrió que, cuando empiece a usarlas, puedo pintarlas del color que corresponda a ese aplicador, como para identificarlos rápidamente :D (uno amarillo, otro rojo, otro azul, y así y así :D). Pero bueno, este paso depende del soporte de sello que consigan y de lo que quieran hacer. 
♥ ¡Empecemos! ♥


Primer Paso
 Medir el tamaño del abrojo necesario, acorde al tamaño de la esponjita y de la base del soporte para sello. Recortar y reservar.


Segundo Paso
(Si elegiste barnizar tus soportes, podrías hacerlo antes de este segundo paso, así, mientras se van secando, aprovechás a hacer esta parte que lleva un poco más de tiempo).

Colocar pegamento en el lado suave del abrojo (es preferible que el lado de los dientitos quede en la base de madera y el lado más suave y flexible del lado de la esponjita) y en la esponjita. Como es un pegamento de contacto, hay que colocarlo en ambas caras a pegar y dejarlo airear un poquito antes de unirlos. Luego se pegan entre sí y se dejan secar. Apretalo un poco con las manos o dejalo con peso arriba así se adhiere bien.


Así se iban secando las esponjitas con abrojo :)
Controlá que si pusiste pegamento de más, no se pegue la parte de arriba del abrojo. 


Cuarto Paso
Cuando las esponjitas con abrojo ya estén bien pegadas (podrías dejarlas toda la noche o varias horas, yo no esperé nada por ansiosa :D) pegá la otra cara del abrojo al soporte del sello. Podés pegarlo todo junto para ubicarlo bien centrado, y luego con cuidado sacar la parte del abrojo con la esponjita (por esta razón es mejor si esa parte ya está seca y bien pegada), así podés apretar mejor y dejar que seque el otro abrojo con la madera. 


Y listo! Así de fácil es! 
Lo que tiene de bueno el sistema con abrojo es que una vez que la esponjita se gasta, se reemplaza fácilmente! Simplemente volvés a conseguir las esponjitas, y repetís los pasos de armado con el abrojo. 
También podrías tener un solo soporte para sellos y gran cantidad de esponjitas, total con el sistema de abrojos las vas cambiando y listo! ♥

¿Qué te parece cómo quedaron? ¡A mí me encantan!
Próximamente estaré compartiendo los resultados de su uso, ¡estoy ansiosa por probarlas!

¿Te animás a hacerlas? ¡Te invito a que lo hagas!

Si creés que este tutorial fue útil, házmelo saber con un comentario aquí abajo o compartiendo este post en Facebook! Y si hacés tus propios aplicadores, compartí la foto y etiquetame así puedo verla. Ya quiero ver sus creaciones y las variantes que puedan generar ante esta idea. 

¡Muchas gracias por pasar por aquí!
Hasta el próximo post ♥


viernes, 10 de julio de 2015

Verano


Nueva semana, nuevo caso a resolver en CSI! <3
Y, como parte del Equipo de Diseño de Carolina Ghelfi Scrapbooking, lo resolví utilizando materiales CGS y MUCHO amor :)

La semana pasada se presentó el primer caso del mes, el #169, y fue la primera vez que participamos desde el Equipo de Diseño como Artistas Invitadas CSI. Además, CGS es uno de los sponsors de este mes, lo que significa que algunas linduras "made in Argentina" van a estar viajando a cualquier parte del mundo <3 Qué orgullo! 

................................................................................

It's a new week, wich means there's a new case to solve in CSI! <3
And, as part of the Carolina Ghelfi Scrapbooking team, I solved it using CGS supplies and LOTS of love :)
The past week, the first case of the month was introduced (#169) and it was the first time that we participated as Guest Designers from the CGS Design Team. Also, CGS is one of the sponsors of the month, wich means that some of the pretty scrapbooking supplies made by CGS in Argentina, are going to soon travel to ANY part of the world <3 It's wonderful!


Estas son las consignas para el Caso #170!

................................................................................

This are the Clues to solve Case #170.


Y así es cómo resolví el caso! <3

................................................................................

And this is how I solved the case! <3

................................................................................

Estas fueron las opciones que elegí aplicar:
  •  Paleta de colores: Utilicé la paleta completa (Verde Lima, Blanco, Azul, Rojo Brillante y Celeste brillante) e intenté no agregar otros colores fuera de esa paleta. Sólo utilicé microfibra negra para escribir mi relato y dar algunos toques en el fondo.
  • Evidencias: Usé Triángulos, Asteriscos y Algo Colgado (las tarjetitas que conforman el relato).
  • Testimonio: Opté por utilizar la palabra "Verano" para el título y como inspiración general del relato y del LO, y también escribí mi relato colgando de algo (el sol/asterisco).

................................................................................

This is ALL you can use to solve the case! Carolina translated everything into spanish so it's easier to understand. Now you don't have any excuse to not try this! :)
These were the options I choose to use:

  • Color Scheme: I used all the five colors and tried not to add any other. The colors were: Lime Green, White, Blue, Bright Red and Bright Light Blue.
  • Evidence: I used Triangles, Asterisks and Something Hanging (the cards were I wrote the Journaling).
  • Testimony: I choose to use the word "Summer" for the title, and also as an inspiration to write the journaling and making the LO.

Con la foto seleccionada, comencé a buscar entre las distintas líneas de papeles CGS para ver cuáles podían funcionar mejor con esta paleta de color. Y resulta que la Línea Hitos es IDEAL para este caso!

Miren TODAS las mini láminas que coinciden con los colores de este caso! Son 8 en total, no es genial? Yo finalmente usé sólo 4 de ellas, pero tranquilamente las podría haber usado todas :)

................................................................................

Once I chose the photo, I started looking between the different CGS paper Collections to see which ones would work better with the color palette. And it turned out that the Hitos Line is IDEAL for this case!
Look at ALL the 6'' x 6'' in papers that match the colors of this case! 8 in total, isn't it cool? I ended using only 4 of them, but I could have easily used them all.


Comencé a dibujar y recortar triángulos de 5 centímetros de base y de altura en las 4 láminas que elegí, para armar parte del fondo.

................................................................................

I started drawing and cutting triangles out of the 4 pages I chose, to form part of the background.


A medida de que iba armando el fondo de triángulos, iba decidiendo más o menos la composición general de la página. Armé una doble alfombrita para la foto (la primera de una Mini Lámina Lisa Blanca y la otra de la Lámina Azul con el borde punteado verde de la línea Hitos) y elegí usar la palabra Verano sobre la foto.

................................................................................

At the same time I was creating the triangles background, I was deciding how the composition of this LO was going to be. I used two different papers as matting for the photograph and chose to place the title over the photo.


También armé alfombritas para las tarjetitas con nombres calados que usé para escribir mi relato. 
Aquí les muestro un mini tip para cuando quieran redondear esquinas y no tengan ninguna troqueladora que lo haga.
Fíjense qué sencillo! Simplemente usé el borde de una de las tarjetitas (que ya viene redondeado) y lo usé como plantilla para dibujar sobre la alfombrita de la otra tarjetita. Luego lo recorté, y LISTO! :D
Y si no tuvieran nada con la esquina redondeada, siempre pueden utilizar un compás para trazar o una moneda como plantilla! Es sólo cuestión de ser ingeniosas y adaptarse a lo que tenemos a mano. Que el hecho de no tener todas las herramientas específicas para cada cosa, no te frene de ponerte a crear! <3

................................................................................

I also created mats for the little cards that I used to write my journaling on.
Here I want to share with you a little tip for those times when you want to round a corner, but you don't have the tool to do that.
Just see how simple this is! I simply used the corner of one of the other cards as a stencil to draw the rounded shape. Then I cut it out, and that's it! :D
And what if you don't have anything with a rounded corner? Then you can always use a compass or a coin! It's only matter of being creative and adapting to what we hace around. Don't let the fact of not having all the specific tools for each thing be an excuse to not start creating!


Para seguir acentuando la idea de "Verano" y ya que la foto habla de un día de sol en el lago, tomé una olita troquelada y la pinté con Bruma Brillante color Turquesa Comienzos. Una vez seca, se me ocurrió usarla como plantilla para poder extender su dimensión y ocupar gran parte de la base del LO. Lo que hice fue ir intercalando las olitas, para que no queden siempre "una chiquita, una grande" :D.
Luego pinté todo con la misma bruma brillante y permití que caigan gotitas por ahí, para dar la sensación de las olas cuando van rompiendo que salpican para todos lados. 
No se preocupen por las líneas de lápiz! Una vez que la bruma seca, se borra MUY fácilmente con una goma de borrar. 

................................................................................

In order to keep accentuating the idea of "Summer", and because the photograph was taken on a sunny day in the lake, I took a wave y painted it with Tuquesa Comienzos Bruma Brillante. Once it was dry, I had the idea to use the wave as a stencil, so I could have more waves on the bottom of the page! 
Then I painted everything with the same color of Bruma Brillante and I splashed some drops around. Don't worry about the pencil lines, because, once the paint is dry, you can erase them super easily with an eraser.


Con la foto pegada en su lugar, ubiqué la olita troquelada y "embrumada" superponiéndola un poquito sobre la foto. En esta foto se ven también las gotitas salpicadas! :D

................................................................................

Once I had glued the photo, I also glued the little wave overlaying it over on the photo. 
In this picture you can also see the little drops of paint! :D


Para cumplir con la Evidencia de que hubiera "Algo Colgado" y el Testimonio de "Colgar el Relato de Algo", uní las tarjetitas con el cordón tejido al crochet con mostacillas (parte del pack de cintas "Comienzos") y lo uní al sol troquelado (casi con forma de asterisco también :D), luego de embrumarlo con Bruma Brillante Verde Limón y Verde Claro (y salpicar con los mismos colores en el fondo) y de dibujarle una falsa costura con microfibra. 

................................................................................

For the clues of "Something hanging" and "Hang the journaling from something", I connected the cards with a crochet lace (part of the pack of laces Comienzos) and with the paper sun (after I painted it with two different greens of Brumas Brillantes and slpashing the same colors on the background). I also added a false sewing with black pen.


En el mismo pack de figuras troqueladas donde viene el sol y las olitas, viene esta nubecita que utilicé como base para escribir la fecha en que realicé este LO. 

................................................................................

In the same pack of paper cut-outs where the sun and the waves came, was this little cloud that I used as a base to write the date when I made this LO.

................................................................................

Y eso sería todo por hoy!
No dejen de visitar el Club CGS en Facebook, donde encontrarán inspiración, ideas y ayuda para ponerse a trabajar, y donde también podrán compartir sus resoluciones de los casos de CSI que Carolina muy gentilmente traduce para todas! <3 

Al final de este post encontrarán el link de TODOS los productos CGS que utilicé para crear este LO. 
Haciendo click en cada uno de ellos podés visualizarlos en la Tienda Online donde podés adquirirlos vos también.

Espero que les haya gustado y los tips les sean útiles! Y si resolvés este caso, no dudes en compartirlo así lo vemos todas :D
Gracias por pasar por aquí y acompañarme!

Será hasta el próximo post <3

................................................................................

And that shall be it for today!
Don't stop visiting the Club CGS on Facebook. There you will find inspiration, ideas and also help to start creating. You can also share your resolutions of this case, and other CSI cases, that Carolina is translating into spanish so it's easier for everyone :D
At the end of this post you will find the list of each product used in this LO and the link to buy it on the Online Store.
I hope you have enjoyed this post and that you find the tips useful! If you solve this case, please share it below so we can all enjoy it! :D
Thanks for stopping by and reading me!
See you on next post <3

 ................................................................................